|
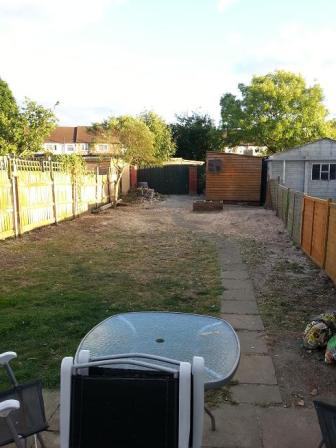
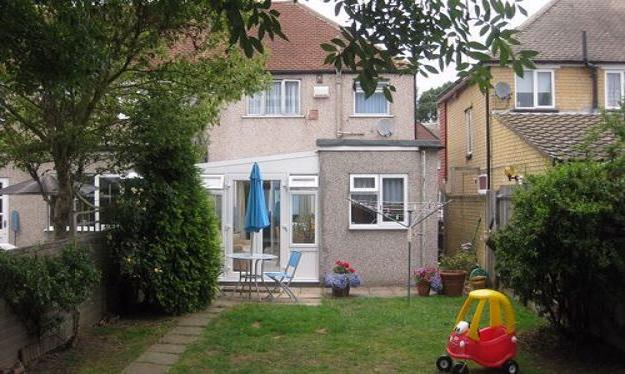
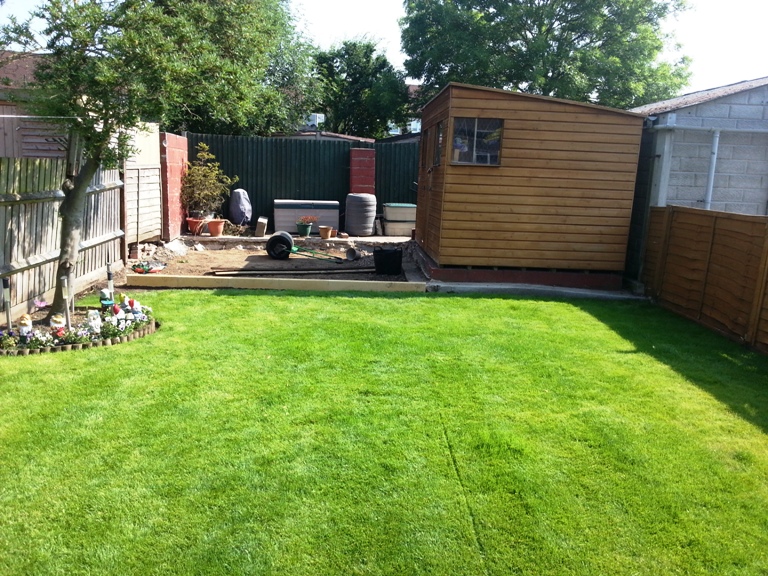
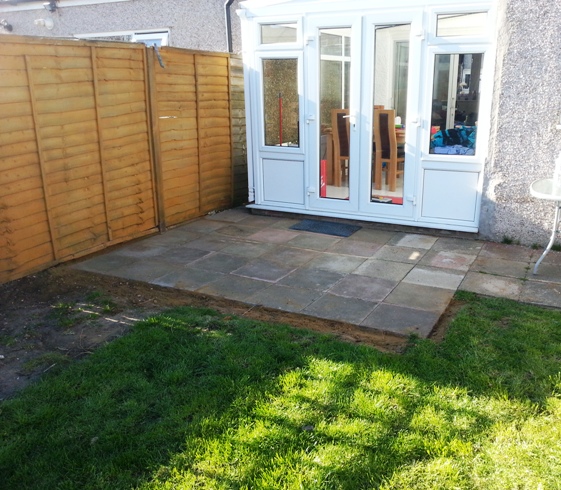
The Garden
How it looks now.
2013-10-12 10:23:00
|
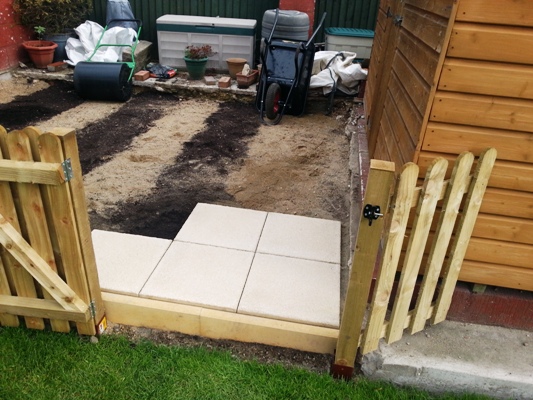
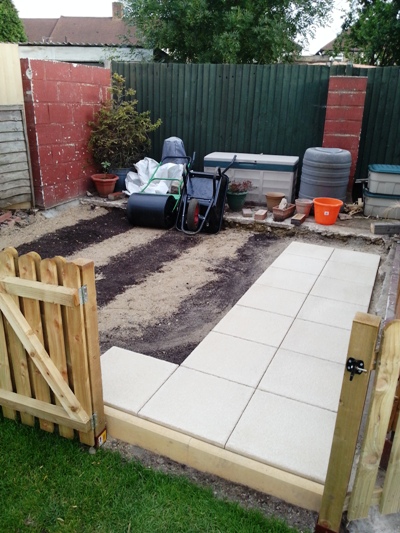
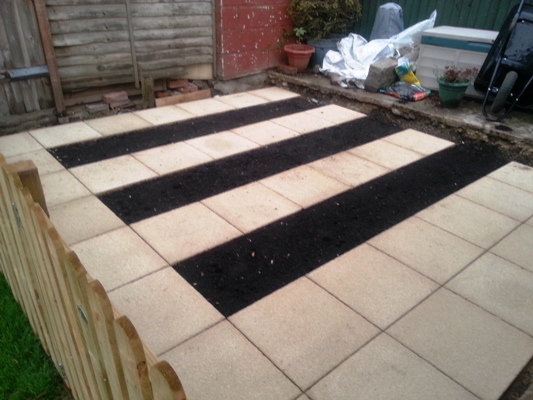
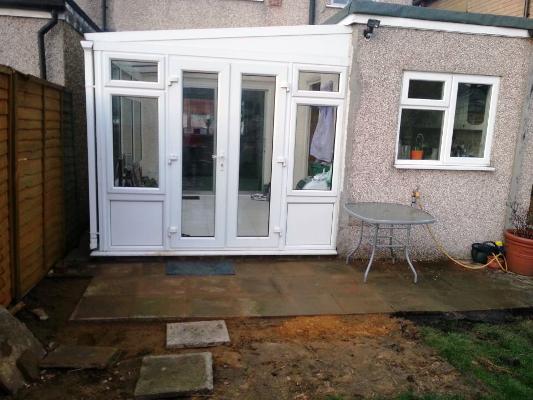
Paving the Veg Patch.
So the paving arrived and I have purchased lots and lots and lots of sand a soil to fit it.
I used a mix of approx 4 parts sand to 1 part cement to put the slabs on.
The first few slabs took a while to lay, but once I got the technique down, I was laying a slab every 5 minutes.
Very Pleased with the final outcome.
|
 |
 | 2013-08-05 16:08:00
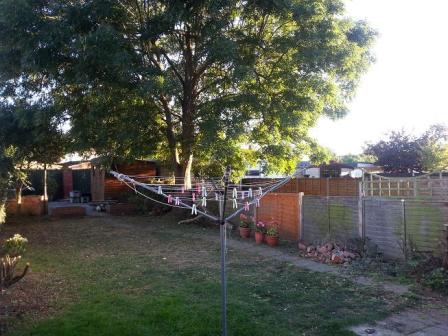
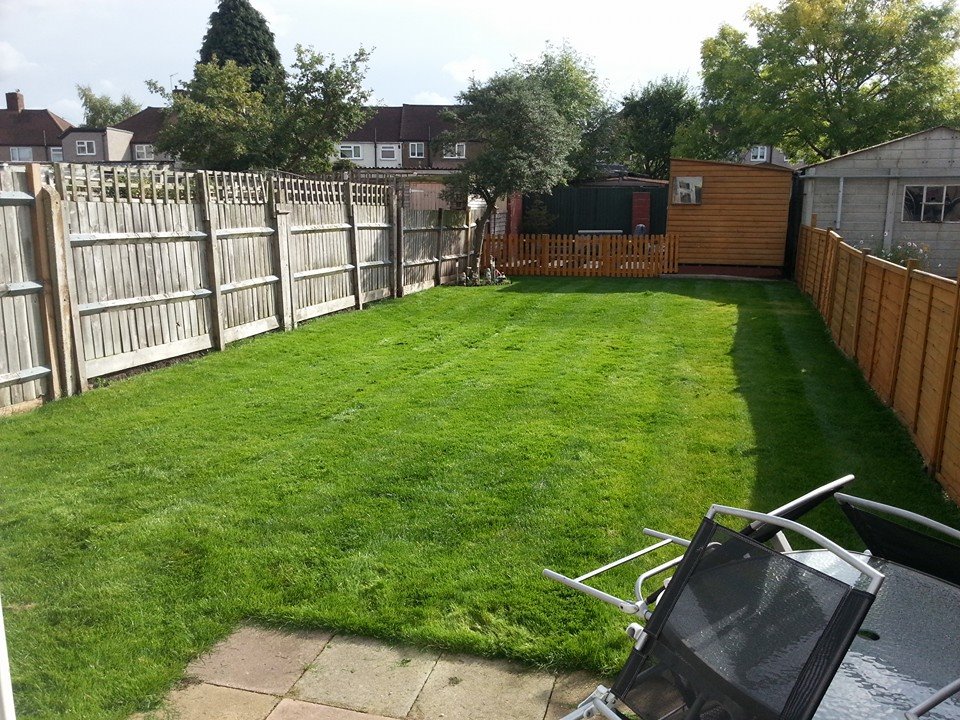
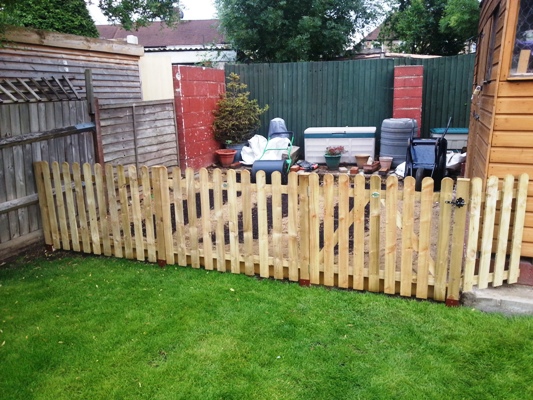
Veg Patch Fence
To section off the veg patch from the rest of the garden I have put up a fence along the boundary.
Was a lot easier than I had expected to do and it turned out really well.
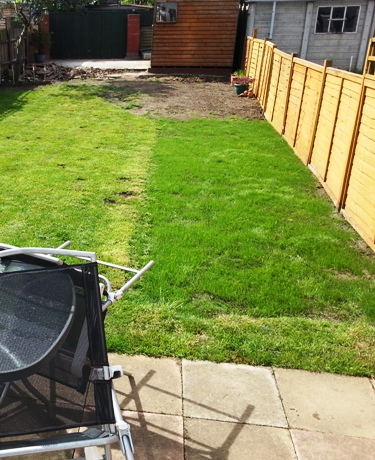
2013-07-30 15:04:00
|
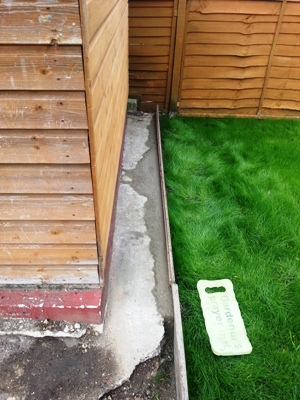
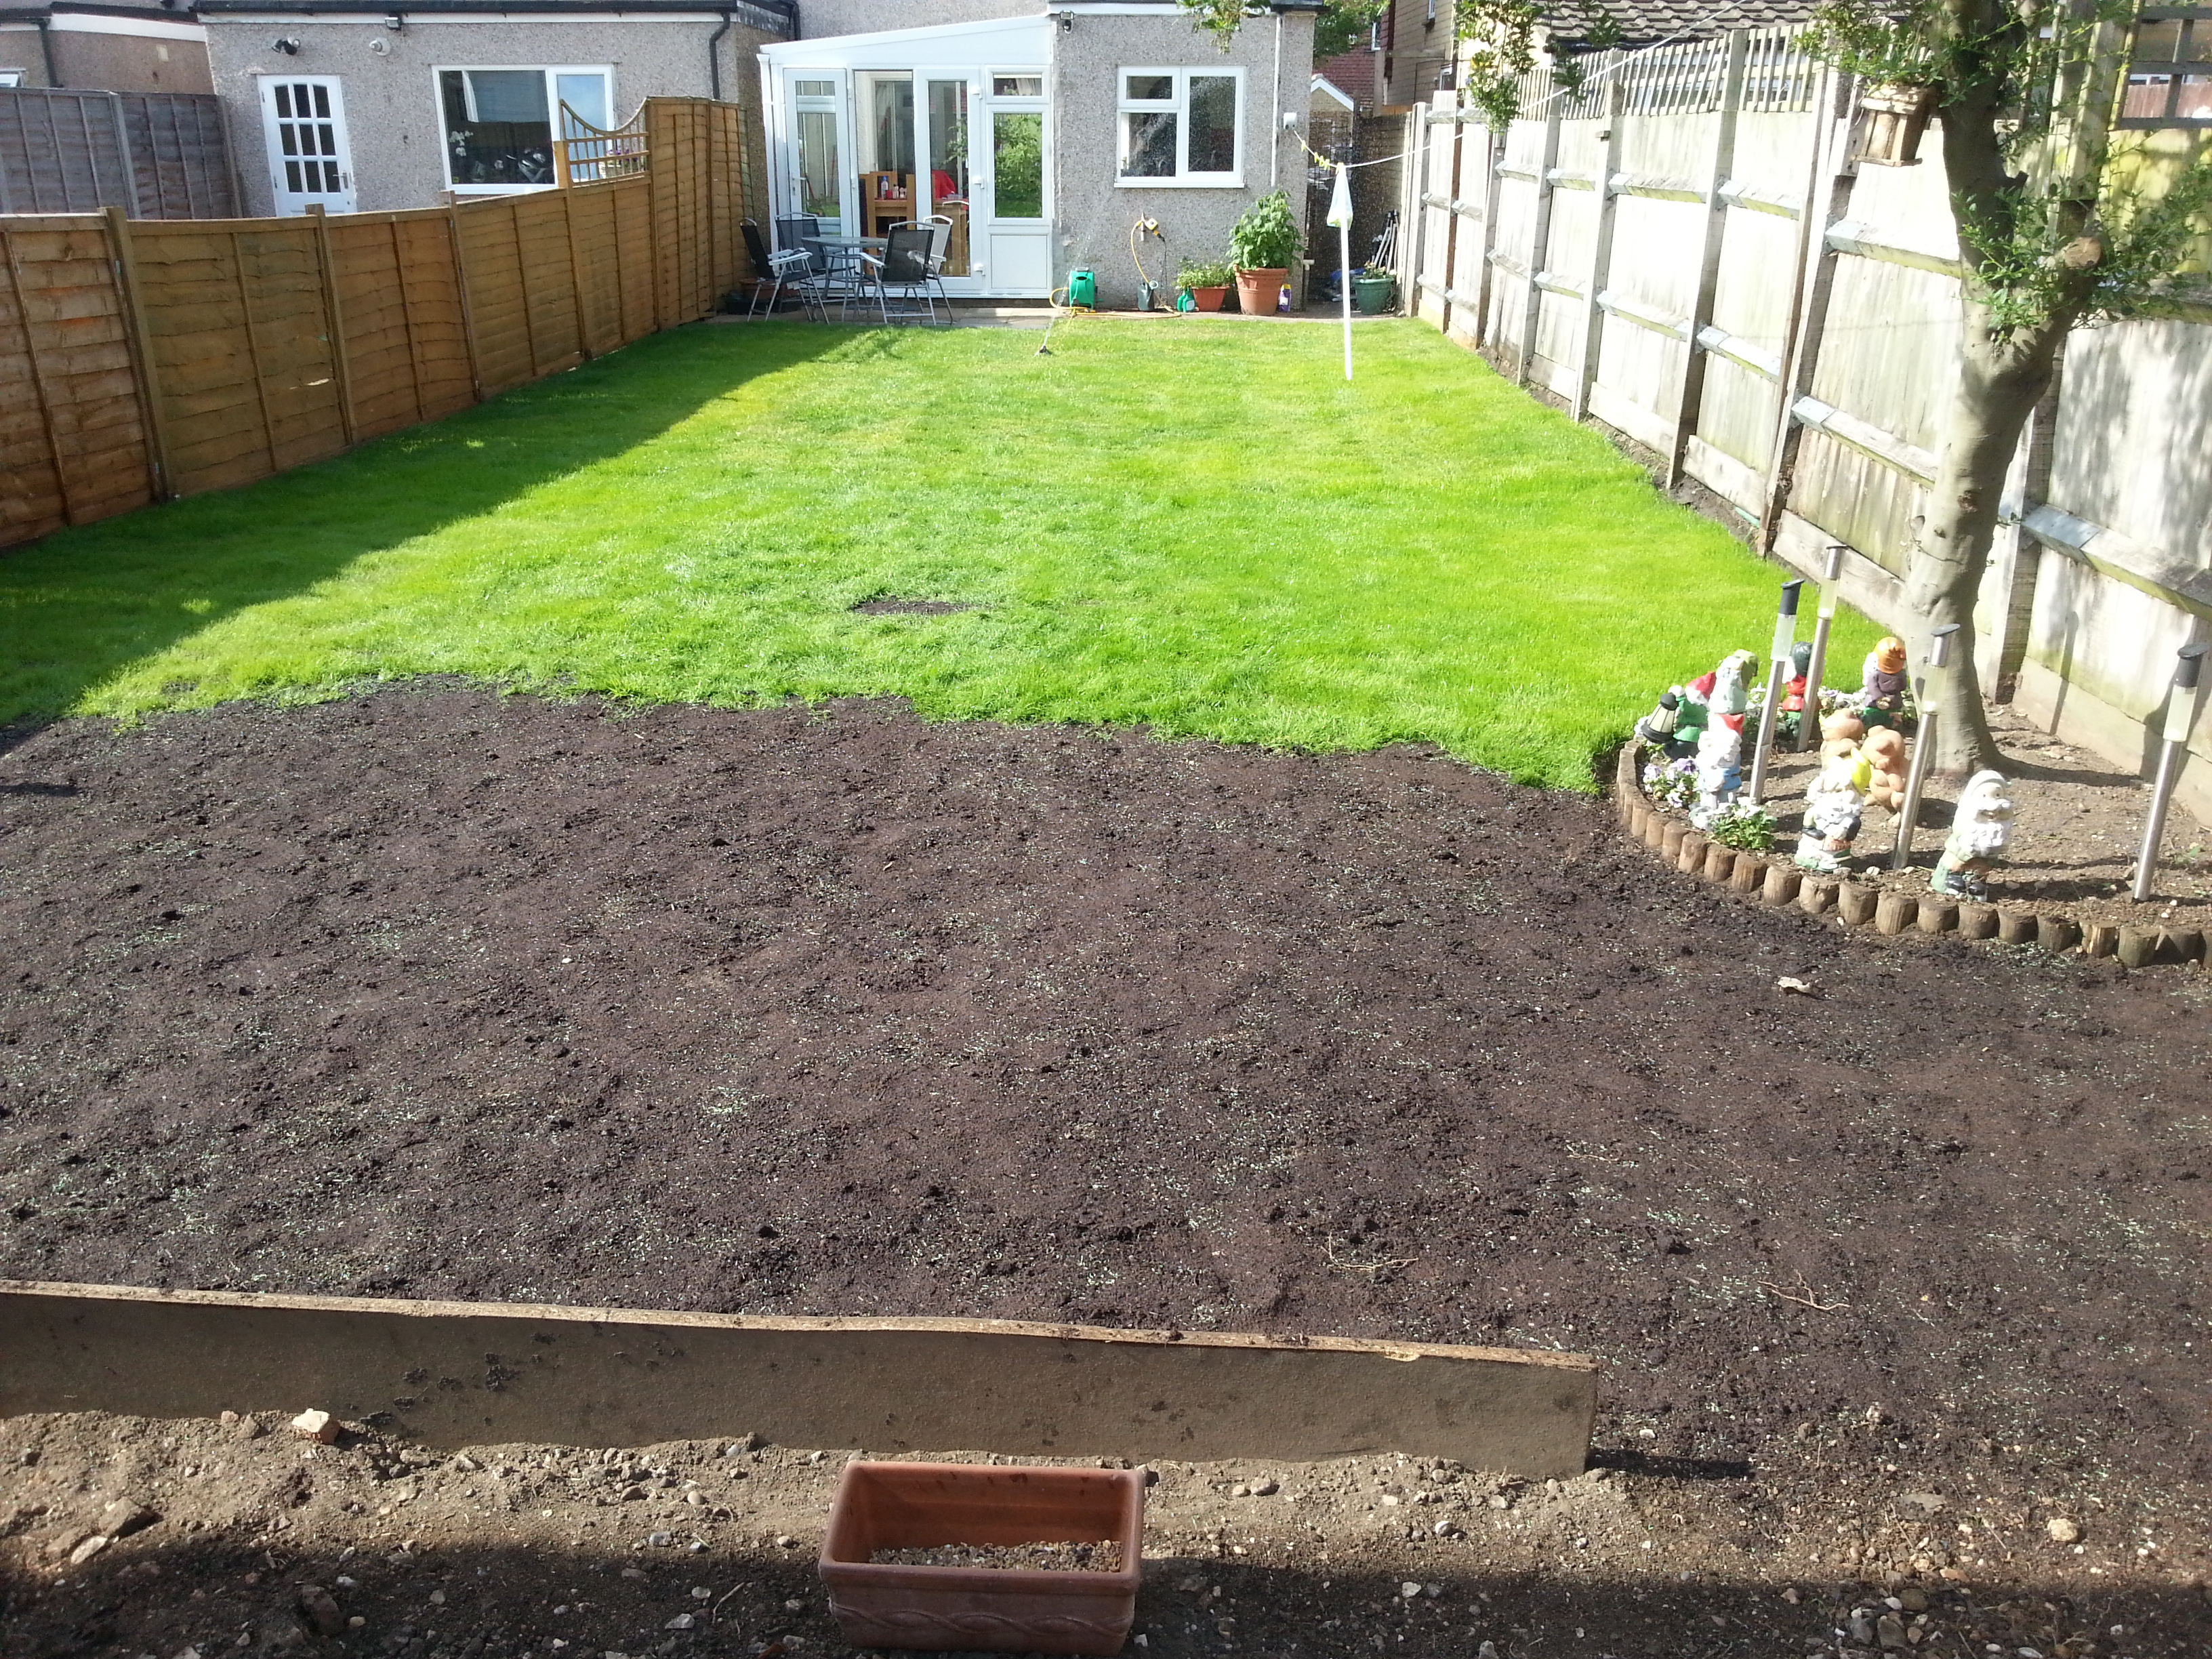
grass done, edging done and lanes marked
So the grass has finished growing to a good standard and I have placed some edging along the boundary of where the veg patch will be.
I also repaired the edging concrete next to the shed.
|
 |
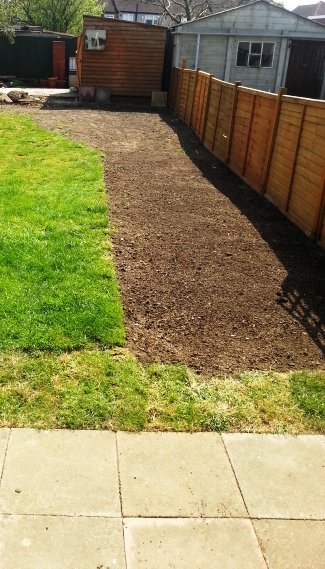
 | 2013-07-21 14:48:00
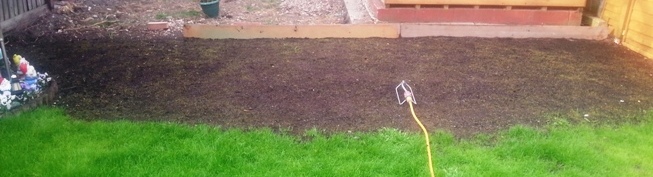
5 Days after seeding
So to seed this section I laid down a thin layer of soil (60% top soil mixed with 40% compost).
Then the seed.
Then another layer of soil (70% top soil mixed with 30% compost).
watered it really well over the 5 days making sure it never looked dry, and low and behold, it has started to come through across the whole area. this has been the most successful seeding of the lot.
You can just about see this in the photo as a green hue on the soil.
2013-07-05 06:30:00
|
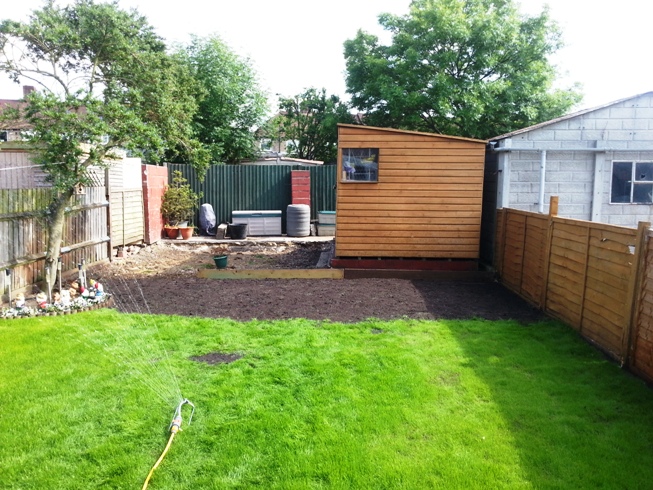
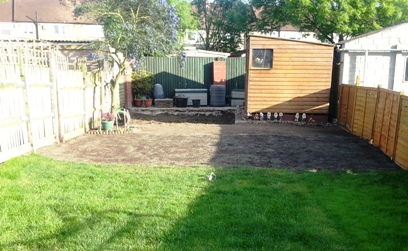
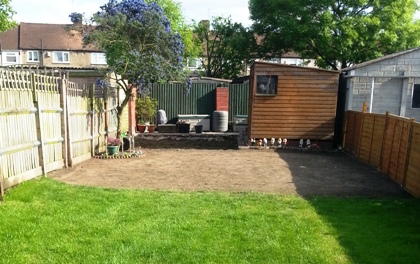
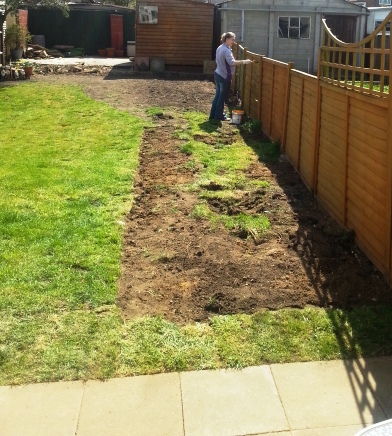
On to the final section of grass
The grass seed is amazing, but perfecting the growing comes with time.
It has taken a bit longer for this section to grow, but that is because I only covered it with a small layer of fresh top soil, with none under the seed.
As you can see from the first picture, most of the water went to the sides so they started growing first, but as it grew it slowly spread over the next few days to cover the entire area.
Then was time to start on the final bit of grassing at the back, just in front of the shed.
This bit was the most work as the soil back here was terrible and full of all size stones and rocks.
But with the help of the Rotavator and a soil sieve and a lot of hours on a nice day.
I managed to flatten the soil out nicely
The wood planks at the back at to straighten it off and will eventually be where the path will be for the veg patch behind.
|

 |
 | 2013-06-29 16:51:00
|
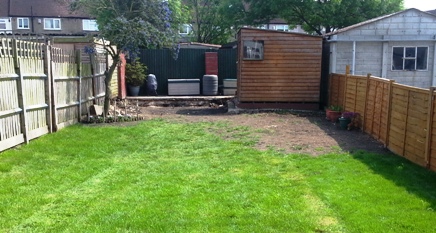
Taking care of the rear grass
Now was time for the much bigger job of the rear section of grass.
lucky for me the neighbour had just purchased a cheap Rotavator, which I borrowed to dig up all the old grass and turn over the soil.
Took a lot of work, and had to did up a few big roots that belonged to the old tree that is gone.
But got there in the end and got rid of the big slope their was, leaving it only gradual.
Have now seeded it and hope it grows as well as the other section did.
|
 |
 | 2013-06-03 15:31:00
|
Sorting the right hand Grass
So the grass on the right hand side was in terrible state and very weedy.
So using my pickaxe & rake I removed all the old grass and flattened out the ground.
Then I put down some westland grass seed, which grew really quickly and left it looking like the last picture in only a few weeks.
I do wish I had some better tools at this stage as it was a lot of work removing the old turf and flattening down the soil.
|
 |
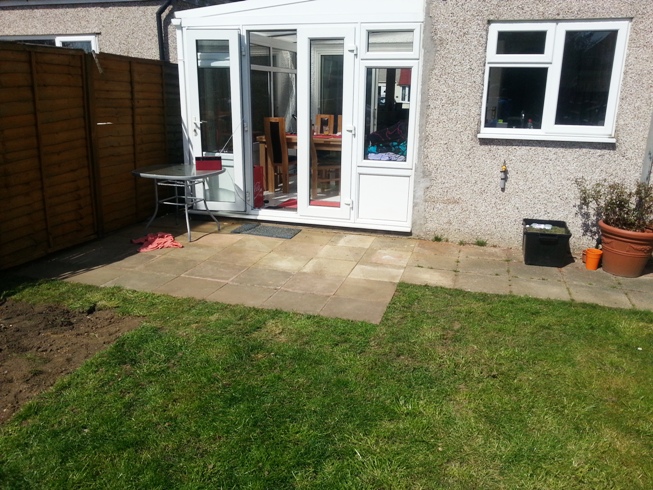
 | 2013-05-31 15:24:00
|
Re-laying the patio
The patio was in two parts, the first part at a suitable level for about two paving slabs and then overlaid with another layer for 4 slabs at a higher level.
Not sure why they did this, other than laziness as there was some concrete that needed breaking up underneath.
So removed all the slabs, the concrete underneath and relaid it all nice and straight.
I then transplanted grass from along the edge of the grass to along the paving slabs so I could make it nice a straight edge and not have holes while it grew.
|
 |
 | 2013-04-21 15:07:00
2013-04-03 09:31:00
2013-04-02 12:26:00
|
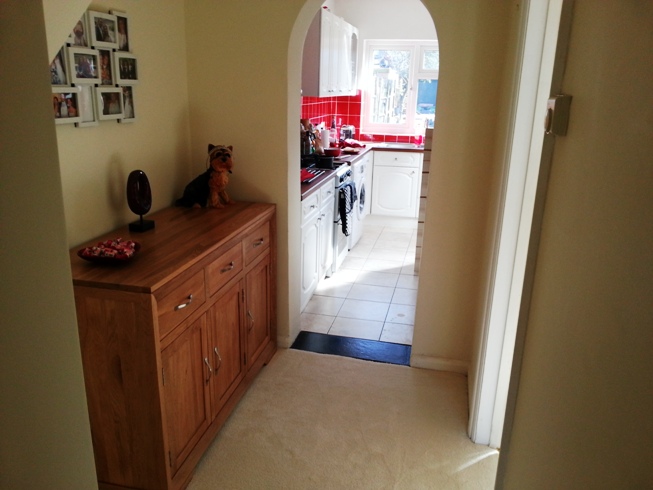
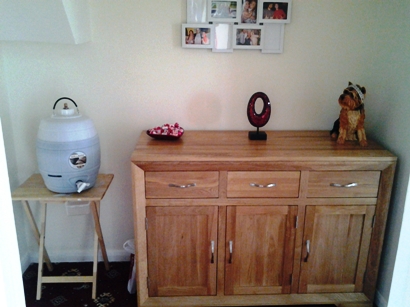
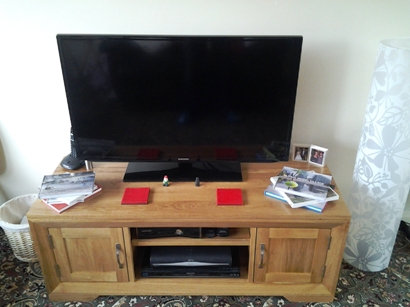
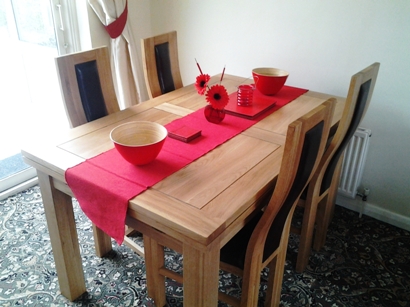
New Oak Furniture Has Arrived
So we spent a lot of time thinking about what furniture to have throughout the house
In the end decided to spend a little more and go for solid Oak from Oak furniture land.
we Got matching Table and Chairs, Sideboard and TV Unit. |
 |
 | 2013-02-16 14:24:00
|
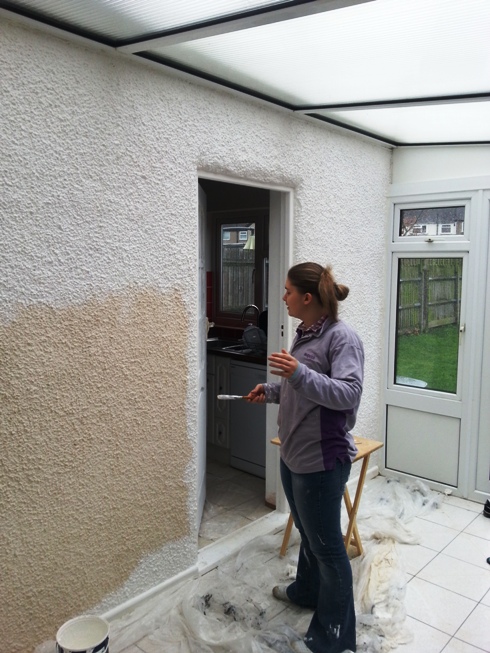
Painting The Conservatory
So got fed up of the horrible dirty magnolia paint in the conservatory so decided to give it a coat of simple white paint to brighten it up
Using big brushes and multiple techniques (Stabbing the walls and round and round) due to the pebble dash.
But afterwards it looks so much better, but think in the future we will get it plastered as that took some time to do!
|
 | 2013-02-10 08:33:00
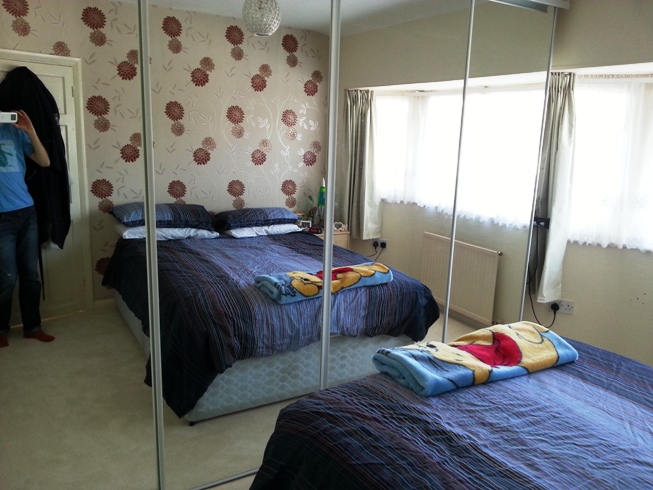
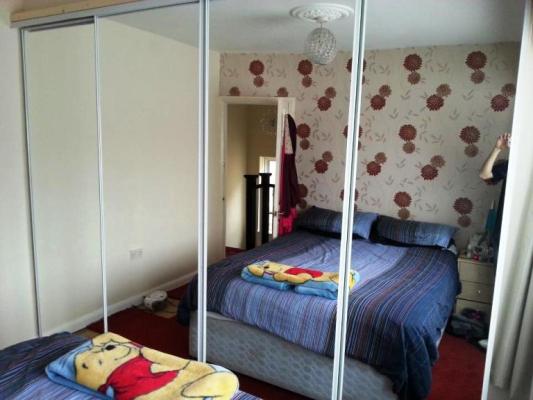
Bedroom Wardrobe Mirror Doors fitted
So we really wanted mirror doors on the wardrobes, but no where sold any that were the right height.
So I decided to go for sliding doors instead and I am soo glad that I did.
As our ceilings are a bit higher than average I had to fit some wood to mount the top runner on, which at a latter date I will cover or paint, but otherwise it was painless.
Purchased the doors (762cm wide) from B&Q; and had to take one back as it was cracked, and all 4 of them are not 100% perfect as they have marks on the frames.
Was told that this is common with these doors from B&Q.; But a little paint will fix that and the way I installed them you do not notice.
2013-02-03 16:00:00
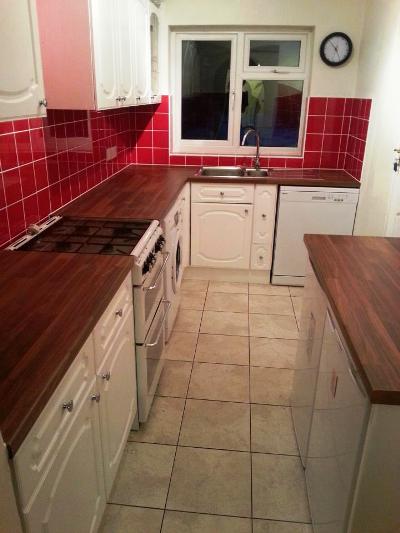
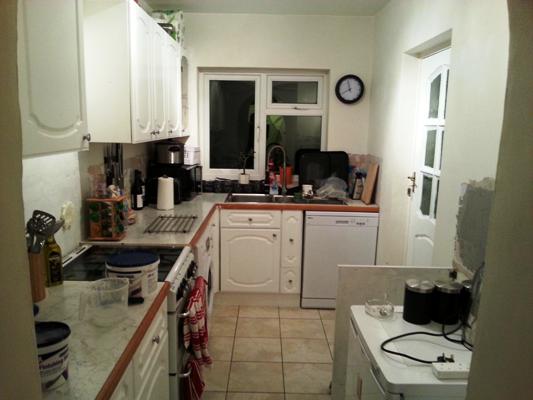
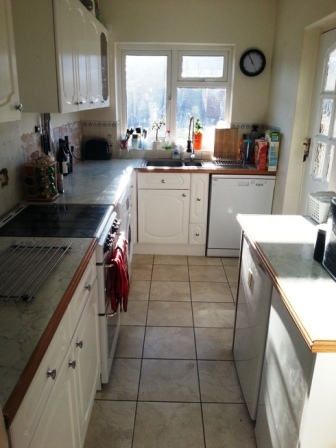
Kitchen Near Completion.
So the tillers & worktop fitters have finished (kitchen concept Sidcup) and it is looking amazing.
Just got to give the walls a coat of white paint and a final coat for the door then we are done with the kitchen!
2013-01-18 08:59:00
|
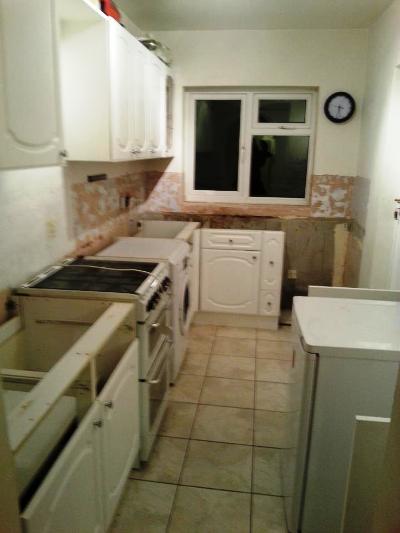
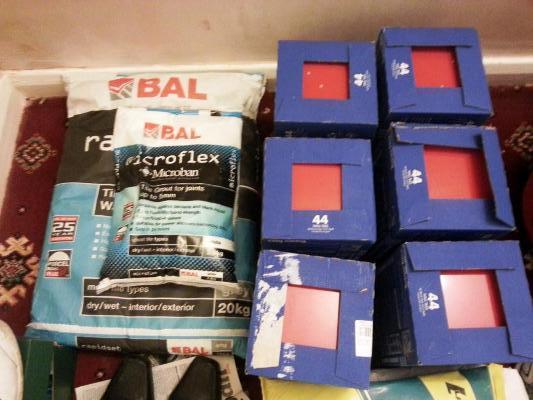
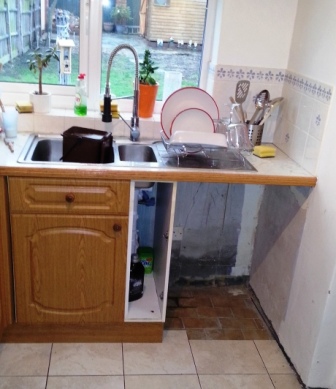
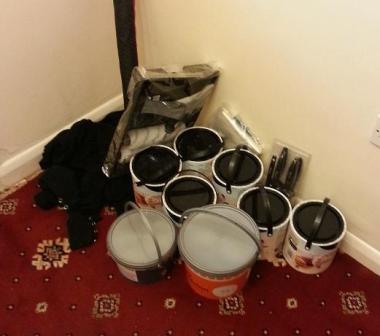
Kitchen Prep
I have removed The dishwasher, sink and worktops.
The Tiles (Flame Red) are here, the Bal Grout & Adhesive all from Topps Tiles
|
 |
 | 2013-01-09 08:50:00
Materials 1
Thought I should provide a list of materials we have used so far:
Banisters:
- Sanded down slightly by hand
- 2 coats crown white undercoat
White: 1 coat white satin
Black: 1 coat black gloss + Rustins Polyurethane Varnish Gloss Clear
Walls:
Crown Neutrals Matt Emulsion Delicate Cream
Living Room Ceiling:
Dulux matt pure brilliant white
Bathroom
-tbc
Other:
Polycell Plaster Repair(Kitchen)
Polycell polyfiller
Polycell Finishing Skim
2013-01-07 08:31:00
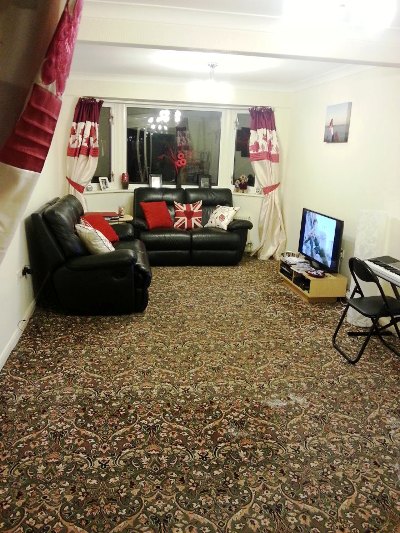
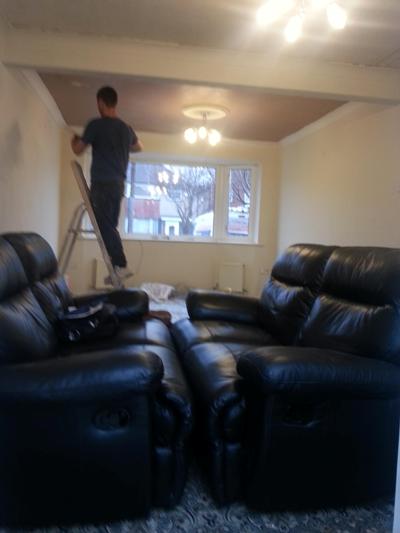
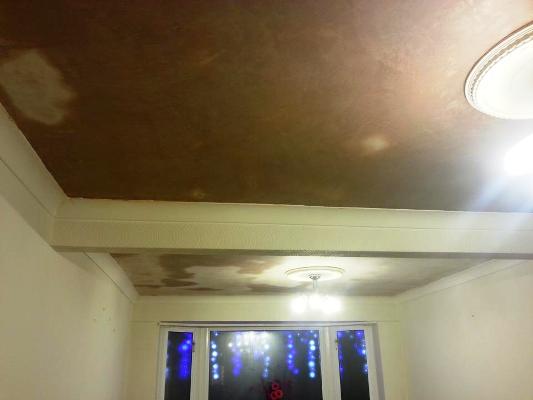
Living Room Finished!
Well we finished painting the living room ceiling today and it looks great! so that is it, nothing more to do in the living room other than carpets.
we used Dulux Matt white, the first coat watered down 50% and the second coat pure.
we thought it might need a 3rd coat, but once it dried decided it looked perfect as is.
2013-01-07 08:28:00
|
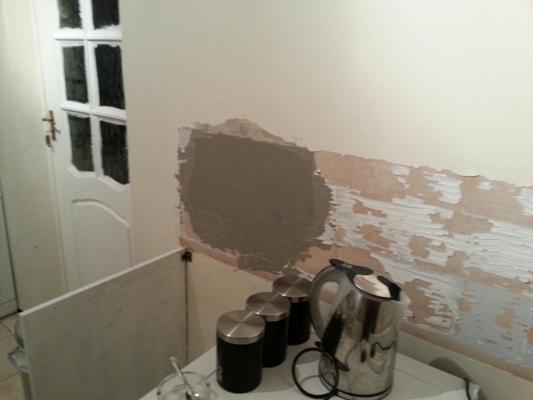
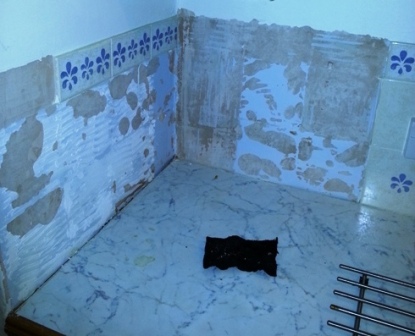
Removal Of Final Tiles
So in preparation of the new tiles and worktops being fitted in the kitchen, I removed the rest of the tiles today, but unfortunately part of the underneath plaster started to come off with them above the freezer.
So purchased some plaster repair and had a go at it my self, and did not do a bad job.
I did not bother to make it perfectly smooth as it is tiles going on top of it so it really does not need to be.
|
 |
 | 2013-01-06 18:24:00
|
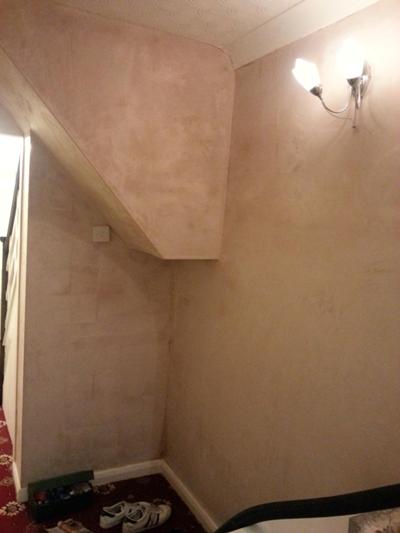
Plastering
Had the plasters in today and they did an amazing job on the hallway, plastering over tiles.
They did an ok job on the ceiling but that was expected as I did go for the cheapest ones and finished the edges my self with some ready made skim.
(£300 for the hall & 2 ceilings)
|
 |
 | 2012-12-30 18:20:00
Laying Patio Stage 1
So I took up the current un-level patio and re-laid it which has made a big difference and lined it all up nicely.
The next stage will be to lay the sticking out bit of patio which originally was 2 inch higher than the rest, but now will be level.
2012-12-29 18:40:00
|
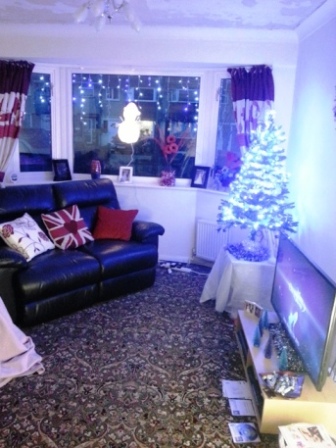
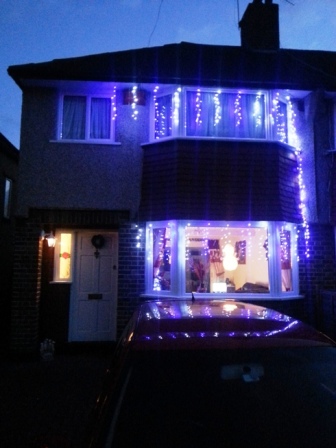
Christmas Has Arrived
What I have always waited for, to be able to put up Christmas decorations on my own house!
Not long after I noticed the neighbour had put their ones in their window! woop woop, lets hope lots more people follow suit!
They are very bright, can see them from both ends of the road lol
|
 |
 | 2012-12-03 15:31:10
Kitchen Cupboard Painting Complete!
So now the kitchen is looking a lot better!
The painting is all complete and I have started to de-tile the walls.
Next step will be to purchase the new worktops and get someone in to fit them!, Really can not wait!
2012-12-03 15:26:05
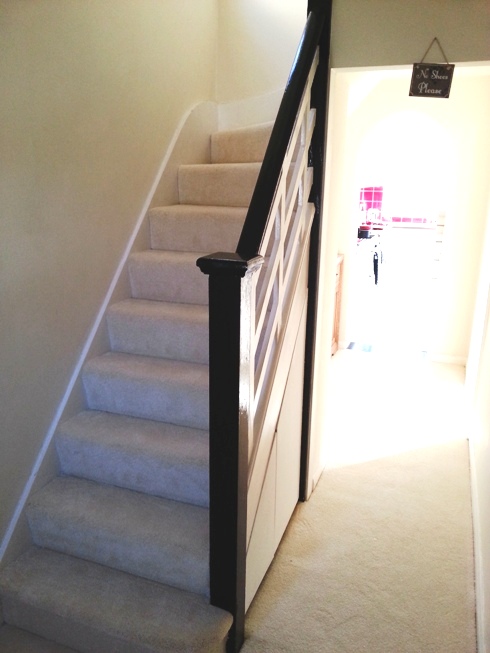
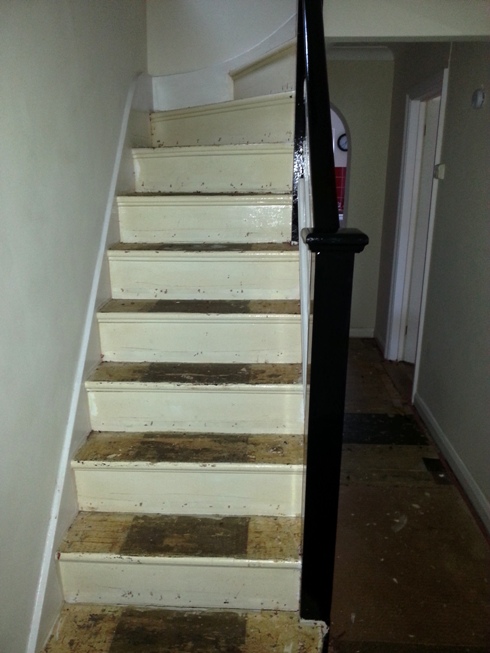
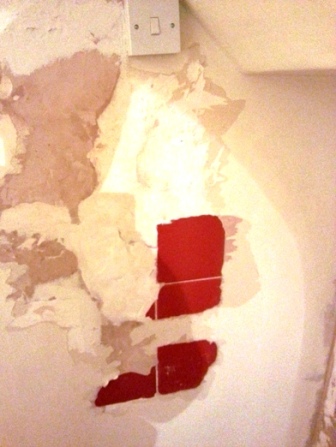
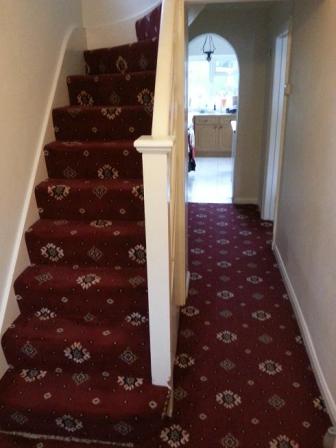
Hallway Stripped
So Finished stripping the hallway and don't you just love the tiles under the stairs.
I am going to get these plastered over the top as otherwise would have to replace the wall underneath if I try to take them off.
2012-12-03 15:26:00
|
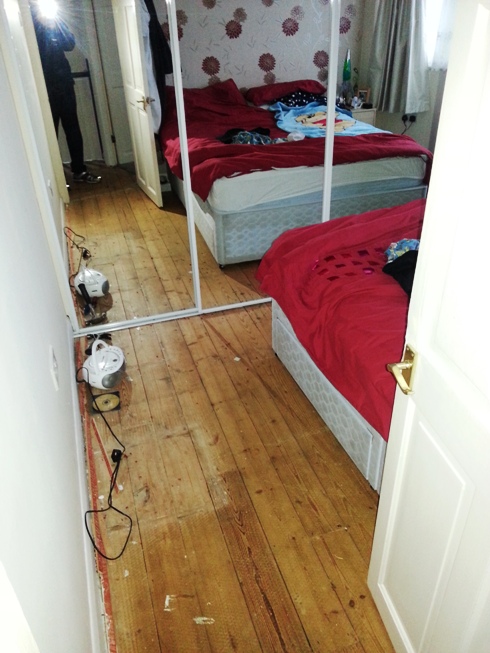
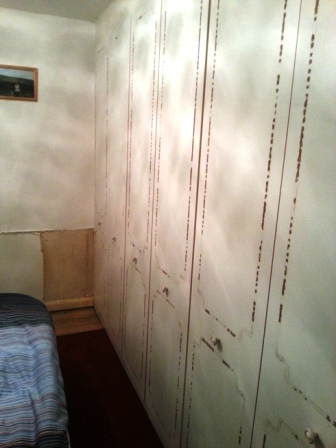
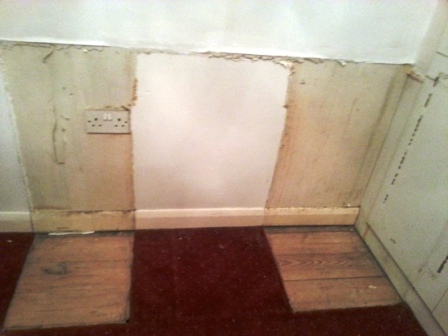
Bedroom work beginning
So I took out the built in vanity cabinet (with drawers) and to my great pleasure I found an extra set of plug sockets hiding behind it, which were totally unusable with this unit there!
Also some very trendy 70/80's wallpaper.
I also removed all the 'pretty' pink decoration from the wardrobe doors, as it was very annoying, but in all we will more than likely totally replace the doors with mirror ones! |
 |
 | 2012-11-16 09:55:00
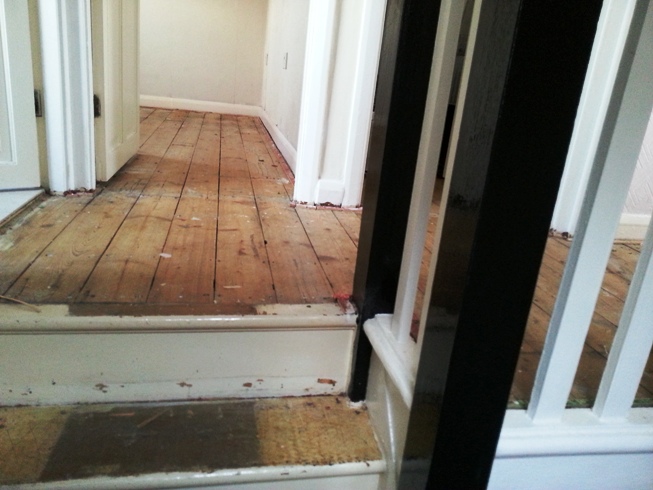
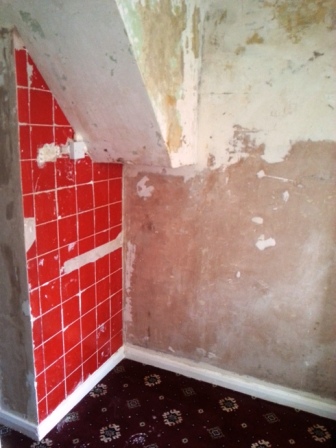
Hallway
As per other posts, another case of keep it cheap, I started removing the wallpaper under the stairs and low and behold there are bright red tiles underneath.
I am guessing the kitchen used to be located here but not sure how many years ago.
2012-11-16 09:49:00
3D Floor Plan
Also with flyover!
flyover
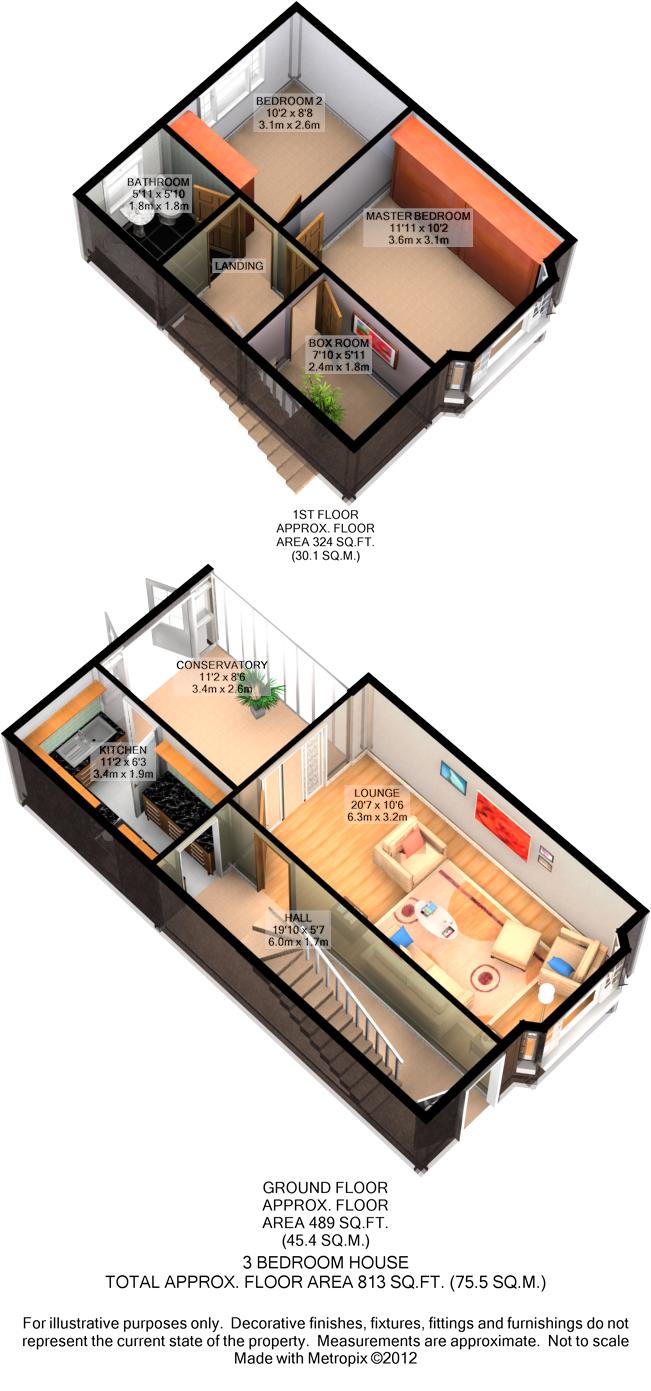
2012-11-14 10:07:05
Updated Floor Plan.
2012-11-14 10:04:00
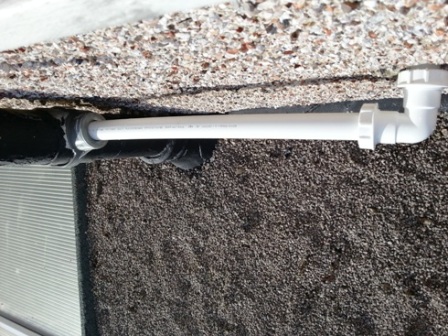
Plumbing
Well thanks to all the bad workman ship that has been done on this house in the past, we had a leak on the extension.
Basically the pipe that goes from the upstairs bathroom sink to the main pipe had snapped in two places and was pouring onto the extension roof.
As the roof was not sealed it leaked into the house and ruined the wall in the hall!
So now that needs decorating too.
Well with quotes of between £70 and £100 to fix this pipe I went out and purchased the stuff my self and did it for £10.
2012-11-14 10:01:00
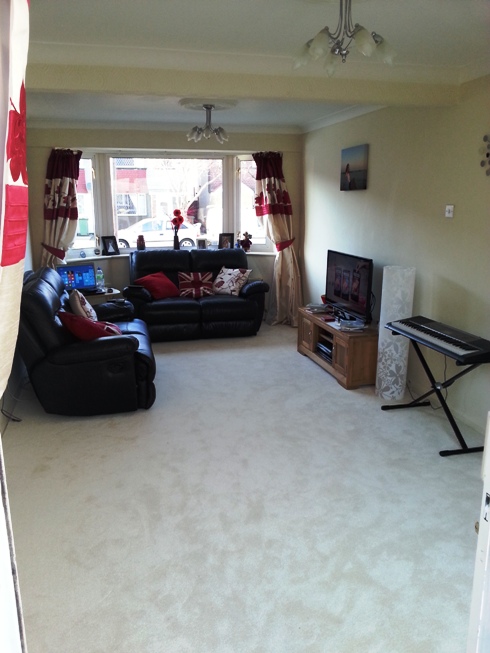
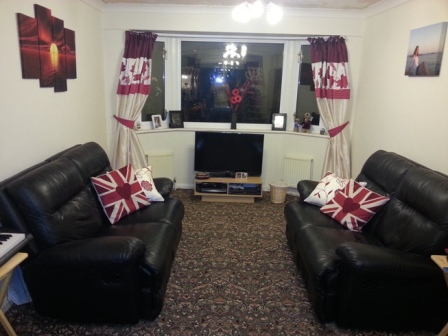
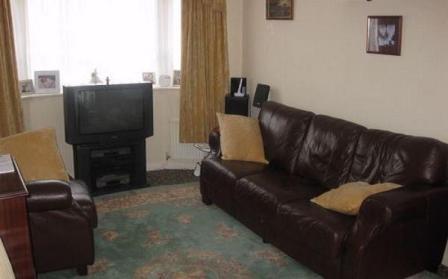
Re-Arranged The Living Room.
moved around the living room quite dramatically and it looks soo much better and we do not have to sit side on to the TV!
2012-11-14 09:54:00
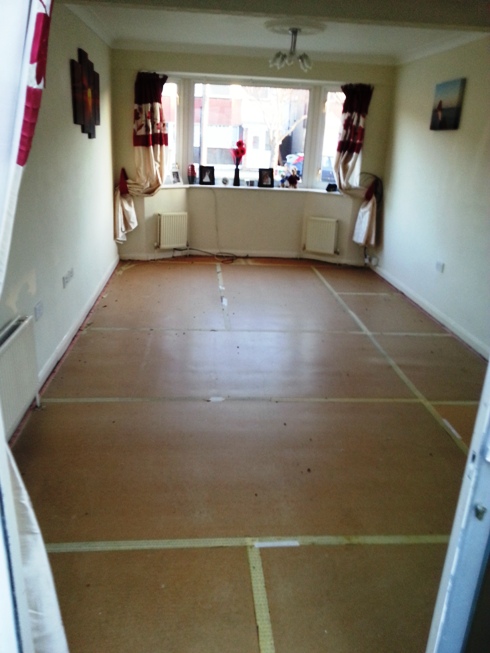
Living Room
Now the living room is basically compete from what I can do, just need to get some plasterers in to do the celling and get the new carpets in and that is it!
2012-10-25 21:40:00
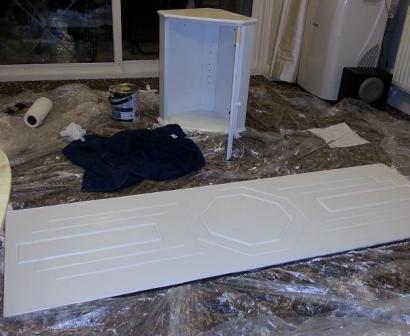
Kitchen Cupboard Painting Begins
Well the original plan was to paint the cupboards bright red and have the walls white.
But after putting the first layer of undercoat on them the kitchen looks amazing and soo much bigger.
So it looks like we might now go for white cupboards and maybe some red themed tiles or something.
2012-10-25 20:40:00
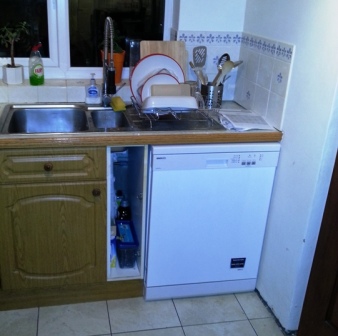
Dishwasher Fitted!
So I Cut down the cupboards and got them all ready for the dishwasher, but I still had the problem of plumbing.
After a few quotes of around £90, I did it my self, and last night we took it for a test run and everything worked perfect! No more washing up! woop woop!
2012-10-23 18:30:00
|
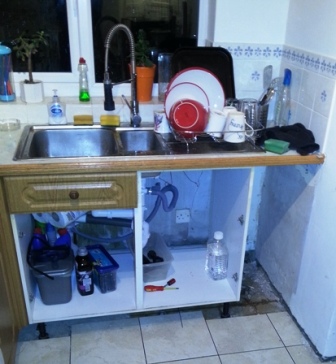
Getting Ready for Dishwasher
So rahter than replace the whole kitchen, as it is in quite good quality I decided to just customize the cupboard under the sink as you can not buy cupboards of a suitable size!
And it went well, and now just need to do the plumbing of the new pipes. |
 |
 | 2012-10-21 17:00:00
|
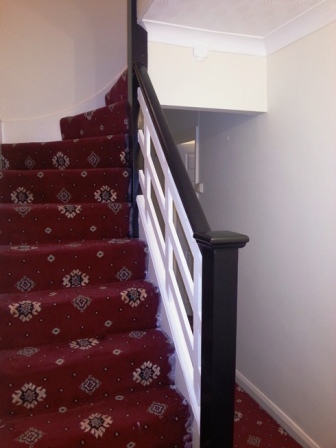
Stairs looking Good!
So I finished the Black of the banisters last night and It is looking really good, just got to go over the white with a gloss and thats them done!
Also in the Kitchen the new lights are up and I have started to de-tile the wall which was a lot easier than I thought!.
|
 |
 | 2012-10-18 20:00:00
|
Bathroom Extras
After adding the undercoat to the Cupboard in the bathroom and the side of the bath, as they were a very dark brown colour.
Already they were looking really nice and like new.
Once I got the gloss on and put it back on the bath, it made the room looks really smart and clean!
looks like we have purchased an expensive bath pannel, its amazing what a good gloss can do!
|
 |
 | 2012-10-16 18:00:00
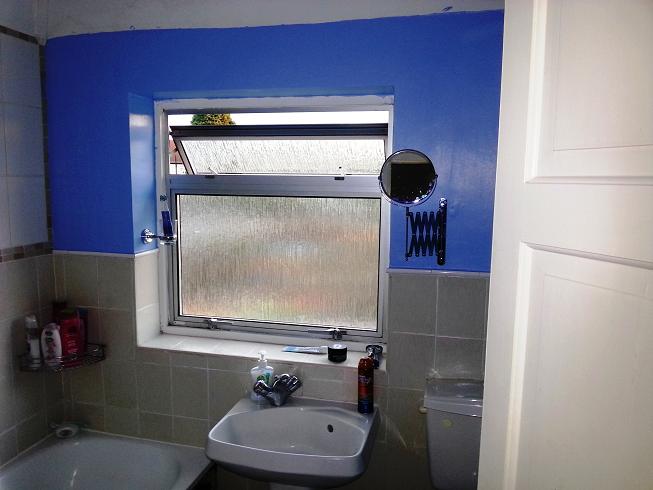
Bathroom
Well the bathroom is looking quite different to how we moved in now, have got the painting of the walls complete, a very nice blue!
Put up all our new holders for towels, Toilet Roll & Tooth Brush holder!
2012-10-13 16:00:00
|
Paint, Paint, Paint
So, a lot of painting has been going on in the house, have done all the hall, stairs wall and the living room.
We choose a lovely bright Delicate Cream as the color and then are going to use red with other things too give some colour!
Also we have put the repaired the upstairs banisters (as a few were missing) and put on the first layer of undercoat!
|
 |
 | 2012-10-06 14:00:00
|
New Living Room Lights
So brought two sets of lights for the living room and I can tell you it was not much fun putting them up!
But a little hard work later and they are looking really good!
Also purchases a nice new mat for the front door! |
 |
 | 2012-10-06 12:00:00
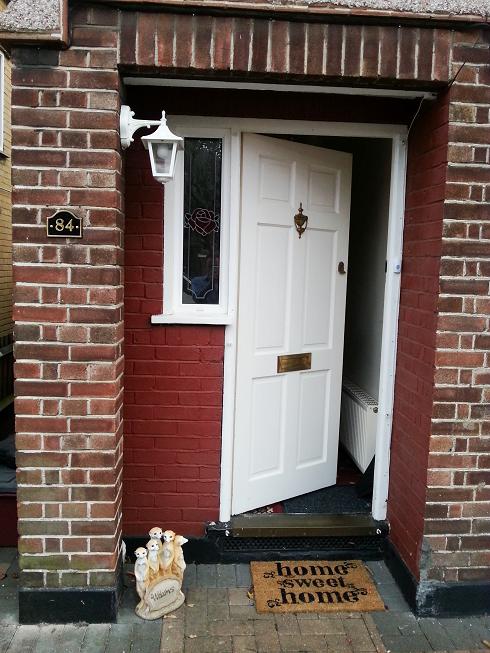
Front Door
Tidied up the front of the house and got rid of the Christmas Tree that was planted there.
Also put up our new door Number!.
2012-10-04 12:00:00
Bathroom
So I de-grouted the bathroom today, as the tiles had been double grouted, I guess where they had got dirty in the past, someone had put another layer of grout on top.
But I have removed this and cleaned it all up and now it is looking a lot better.
2012-09-25 11:00:00
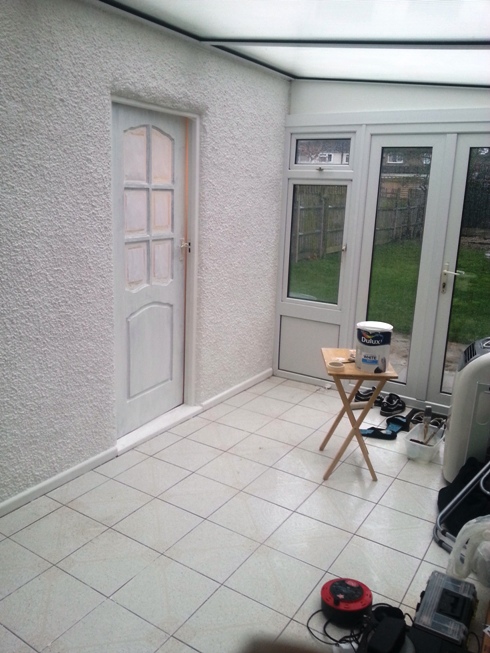
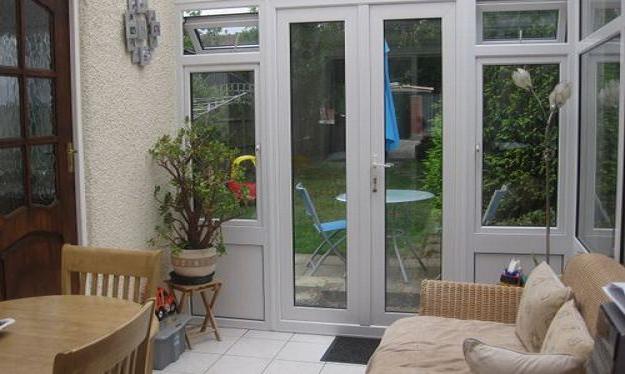
Updated Photo of the Conservatory
2012-09-23 08:00:00
2012-09-13 13:00:00
|
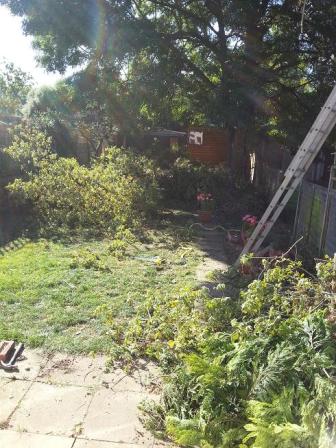
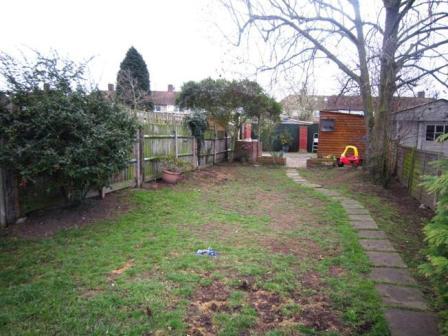
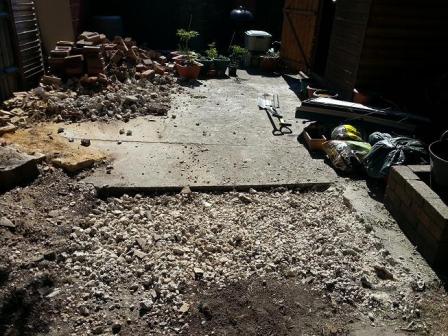
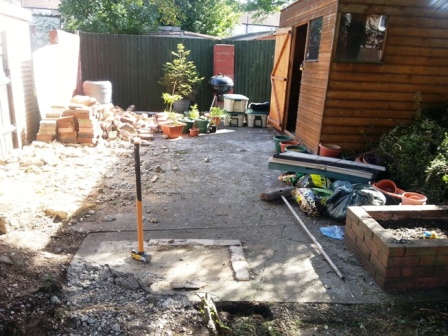
Concrete Removal
So we want to get rid of all the concrete in the garden and replace it with Grass & a veg patch, so I made a start!
It's very hard work but I will get there evntually, might even hire a electric breaker to help!
|
 |
 | 2012-09-09 13:00:00
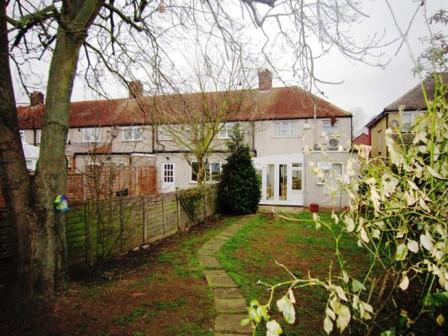
|
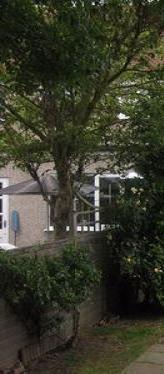
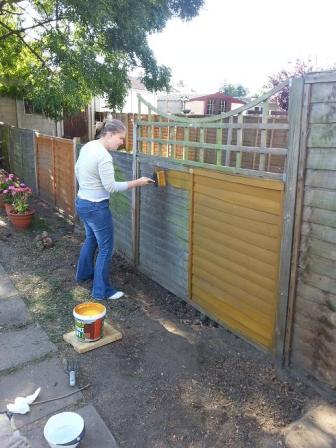
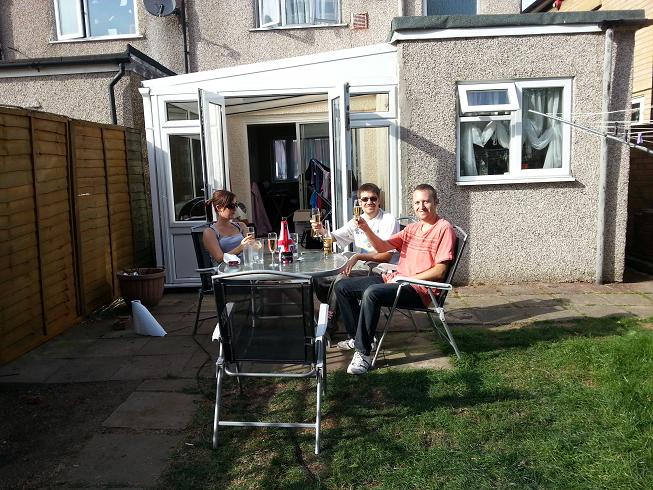
Fence Painting Time
Before the Big Tree was planning its leaving party, we thought we would tackle some of the fence pannels in the worse condition.
so we got togeather with a few friends and painted!
Then of course celebrated our hard work with a nice bottle of Champagne!
|
 |
 | 2012-09-09 12:00:00
2012-09-07 08:00:00
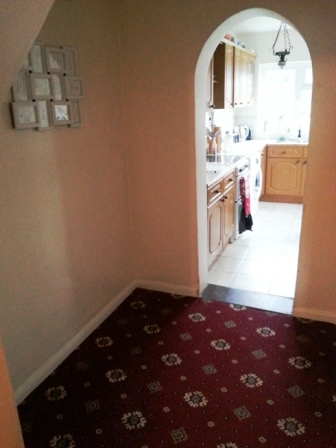
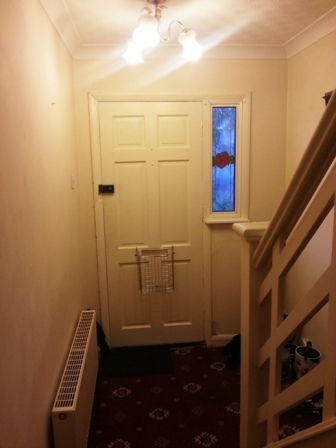
|
Hall Before Redecoration
A few more photos of the Before |
 |
 | 2012-09-06 10:29:00
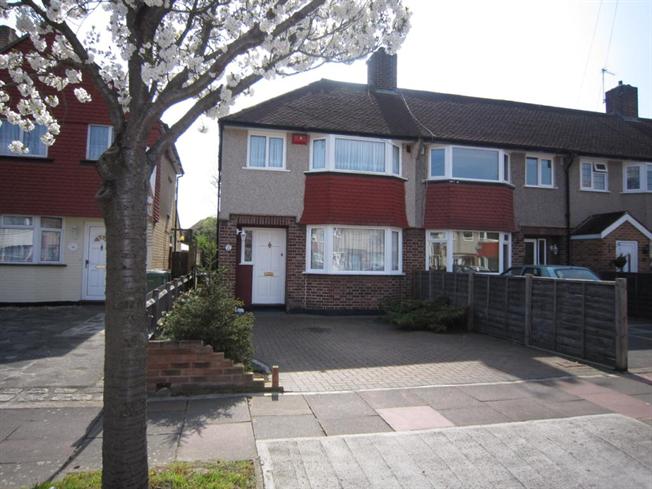
Before Purchase
3 Bedroom End of Terrace House, Blackfen
A three bedroom extended end of terrace house in a popular location
and Days Lane schools. The property has a through lounge dining room, conservatory and useful lobby
area that could be used as a study. Outside the property has off street parking and a good sized rear
garden.
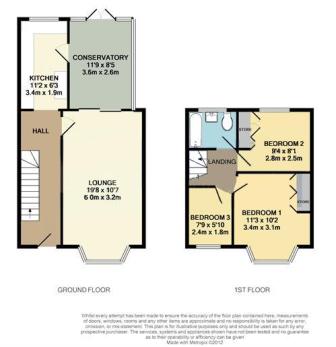
Entrance Hall
Stairs to first floor, storage cupboard.
Lobby
2.13m x 1.66m (7' x 5' 5")
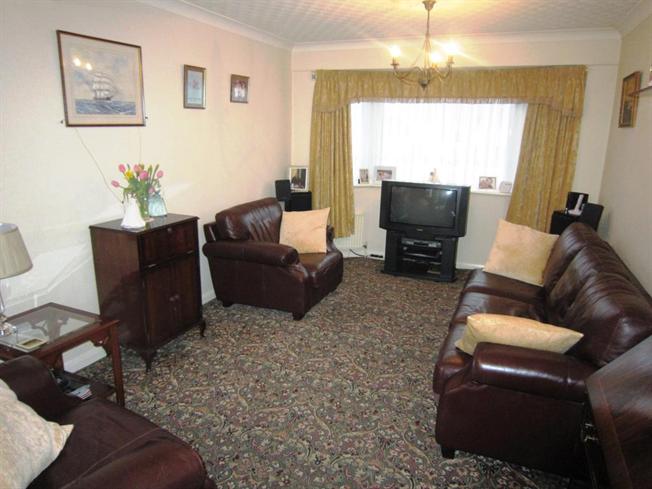
Lounge / Dining Room
6.28m x 3.24m (20' 7" x 10' 8") Patio doors to conservatory.
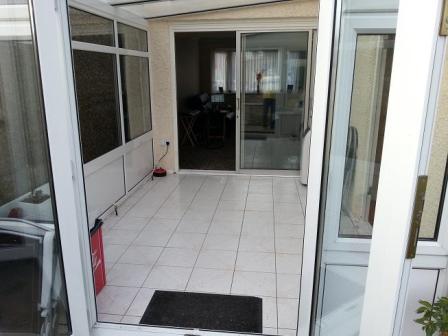
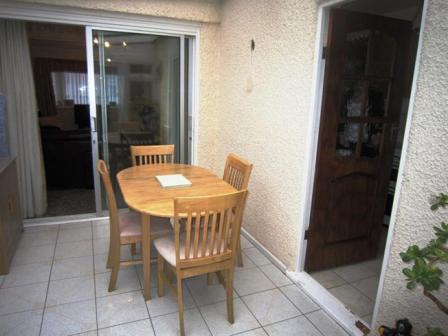
Conservatory
3.56m x 2.57m (11' 8" x 8' 5") French doors to garden, ceramic tiled flooring.
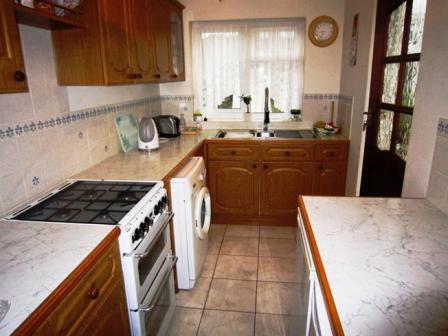
Kitchen
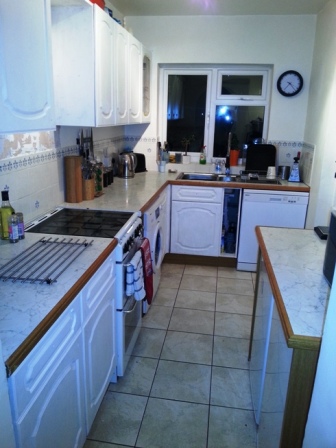
3.43m x 1.93m (11' 3" x 6' 4") Range of fitted wall and base units with matching worktops, space for
washing machine, fridge, freezer and gas cooker. One and half sink drainer with mixer taps, part tiled
walls and tiled floor. Door to conservatory.
Bedroom 1
3.51m x 2.57m (11' 6" x 8' 5") measured to built in wardrobes.
Bedroom 2
2.84m x 2.46m (9' 4" x 8' 1") With built in wardrobes.
Bedroom 3
2.39m x 1.83m (7' 10" x 6' )
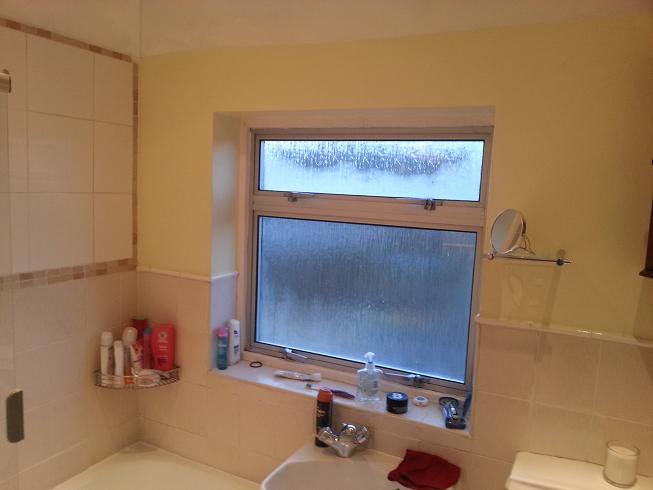
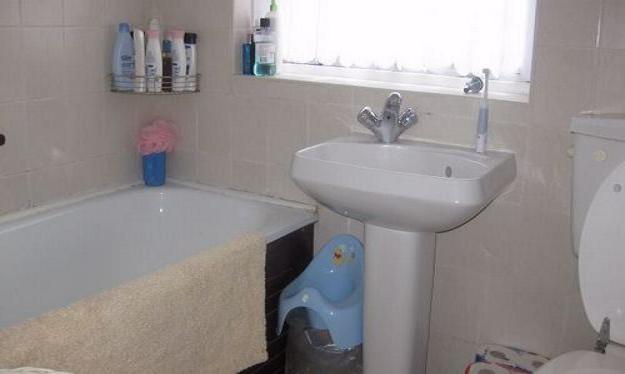
Bathroom
White three piece suite comprising bath with shower attachment and electric Triton shower over, wash
hand basin with chrome mixer taps, low level W.C. Tiled floor, part tiled walls, inset spotlight.
Front Garden
Block paved to provide off street parking with flower beds.
Rear Garden
Approx 70ft. Patio leading to lawned area with tree and shrub borders. Garden shed.
In addition the property benefits from double glazing, central heating and off street parking
2012-08-01 00:00:12
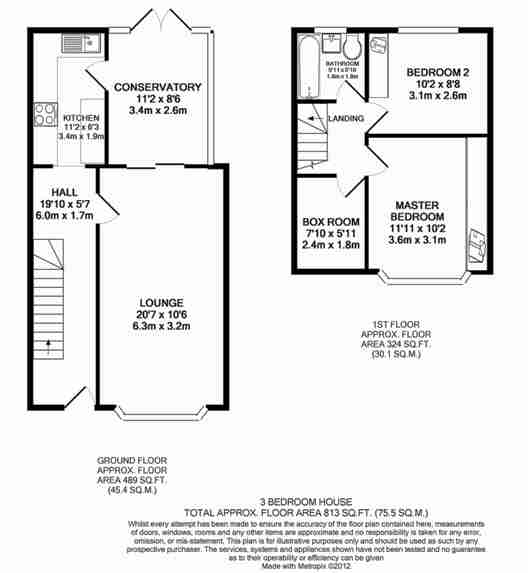
Floor Plan
2012-08-01 00:00:11
Front
2012-08-01 00:00:10
2012-08-01 00:00:08
|
Conservatory
|
 |
 | 2012-08-01 00:00:07
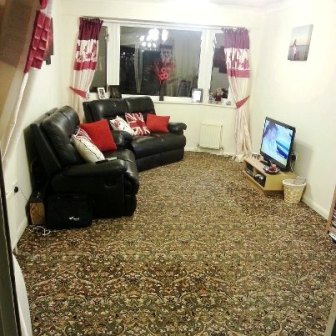
|
Living Room
|
 |
 | 2012-08-01 00:00:06
Kitchen
2012-08-01 00:00:05
Bathroom
2012-08-01 00:00:04
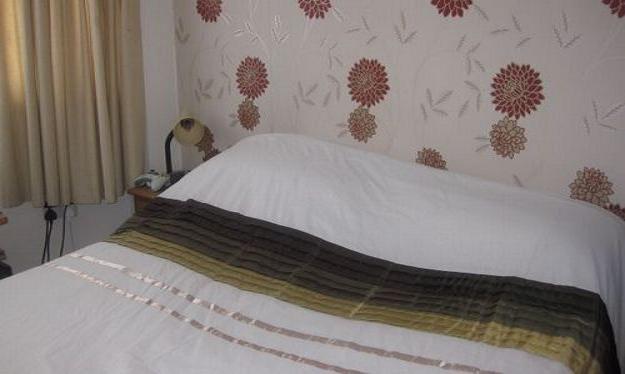
Master Bed
2012-08-01 00:00:03
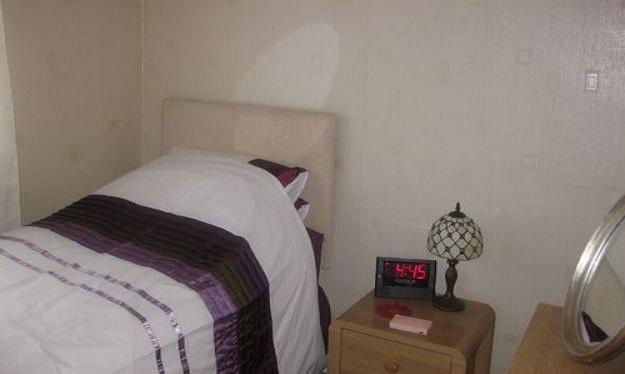
Large Spare Room
2012-08-01 00:00:02
|